Papertrey Ink :: Valentine Treat Packaging
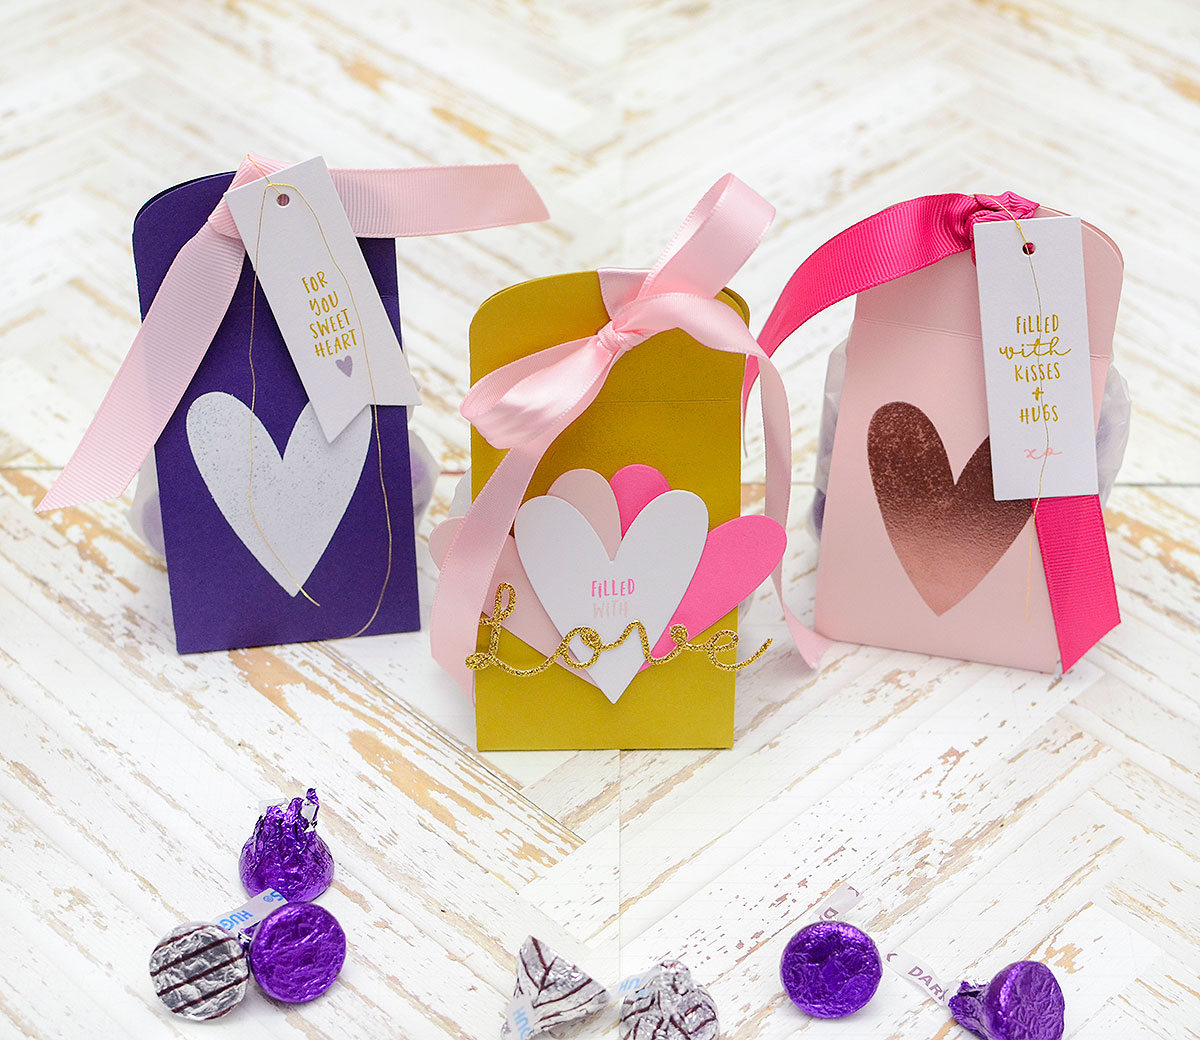
Hello packaging lovers! We are so close to Valentine's Day and I couldn't help myself; I had to create MORE treat packaging for it using some of my favorite Papertrey Ink stamps and dies! This one is pretty fun and with a few quick swaps, you can tailor it to any theme or occasion, so if you're not in the mood for hearts and the like, you can easily replace them with your own favorite images and sentiments.
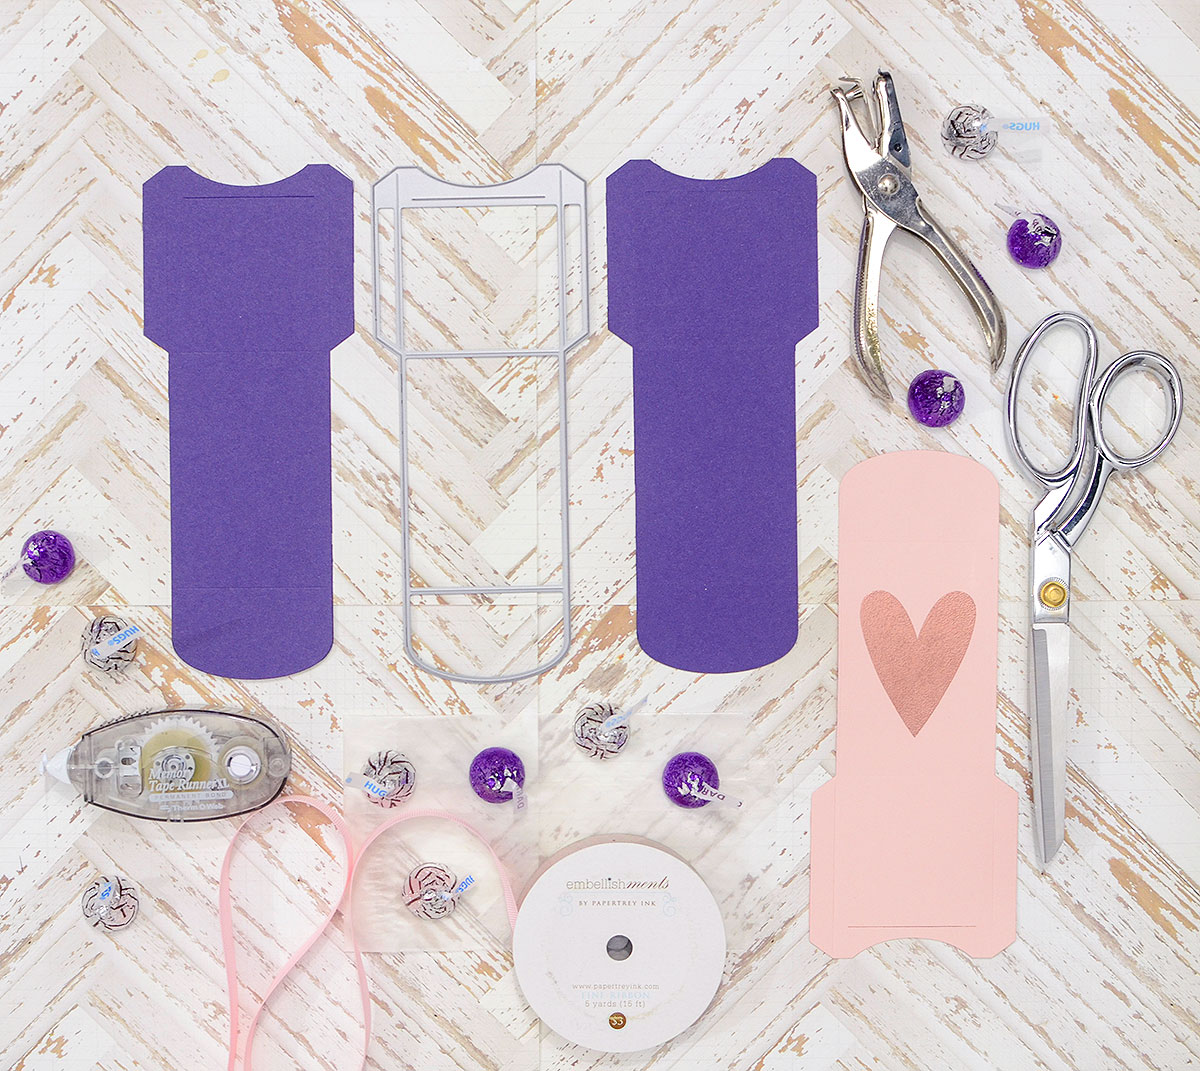
Here's what you'll need:
- Gift Card Cozy die, cardstock, scissors, adhesive, glassine bag (or cello treat bag), hole punch, ribbon
- Your choice of stamps, embellishments, and a treat to put in the bag
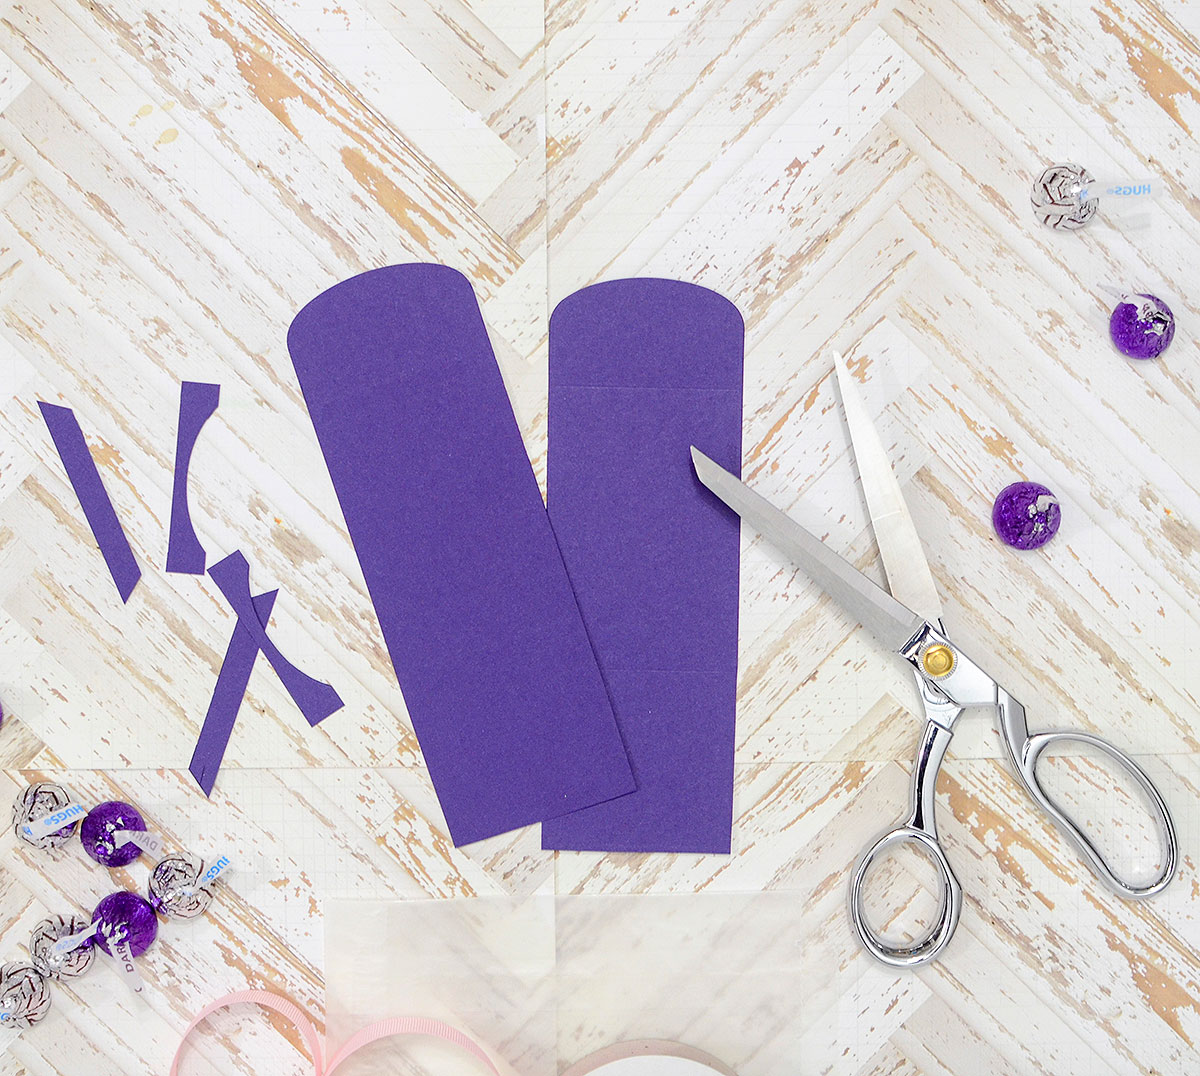
If you'd like to add some stamping or embossing, I recommend doing that now, before folding and assembling. I embossed a heart on a couple of mine.
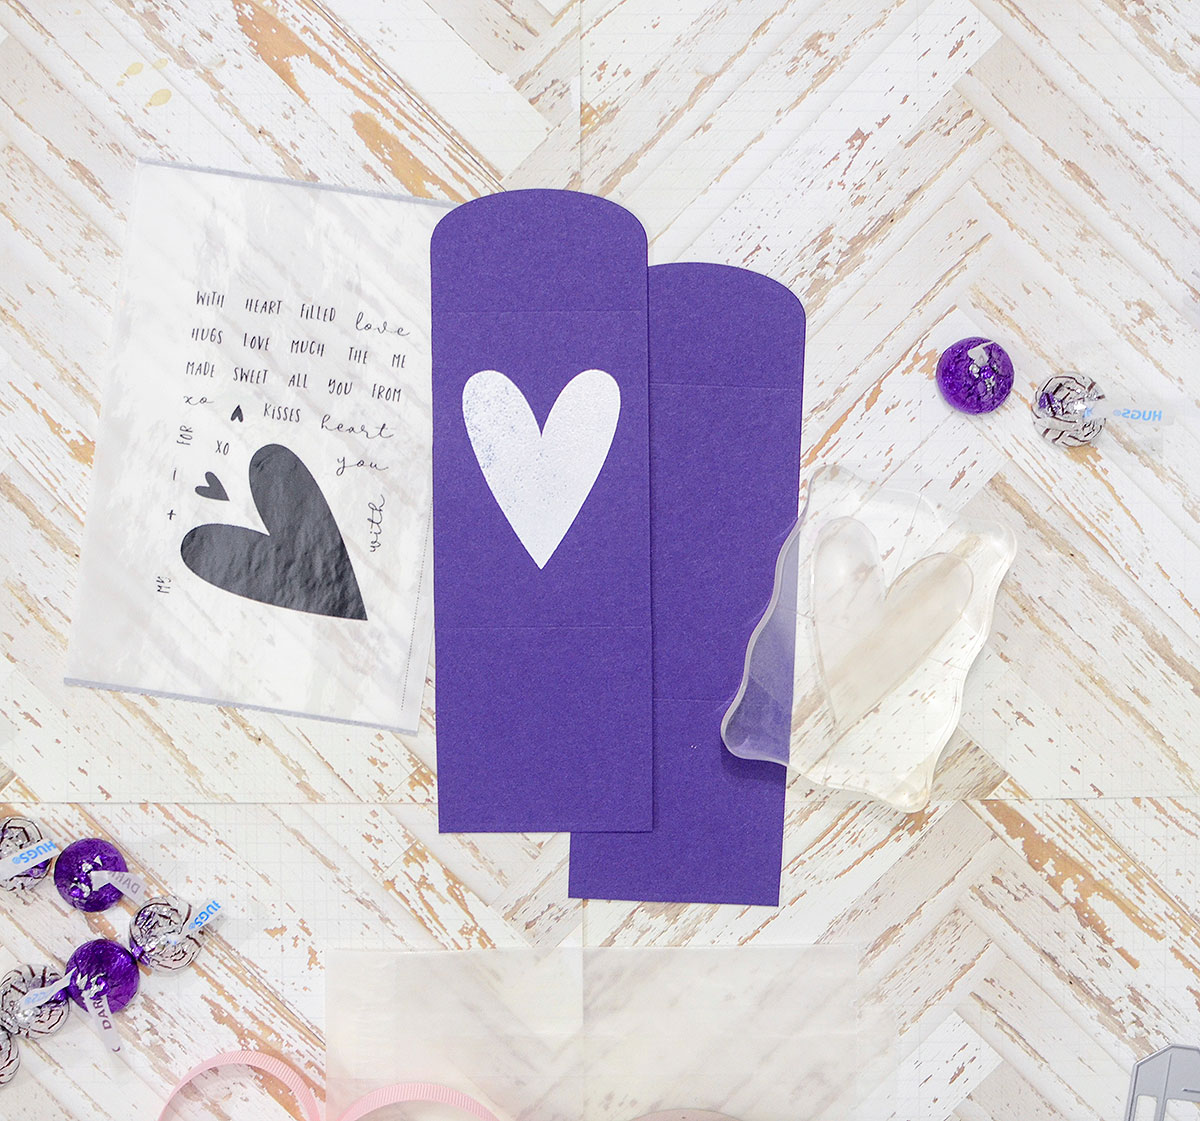
You're going to fold at the top and bottom score lines, as shown in the photo. The curved edge (top) is going to fold the 'unnatural' way against the scored line; the square (bottom) will fold with the score line. Basically, the bottom will fold toward the inside and the top will fold toward the outside.
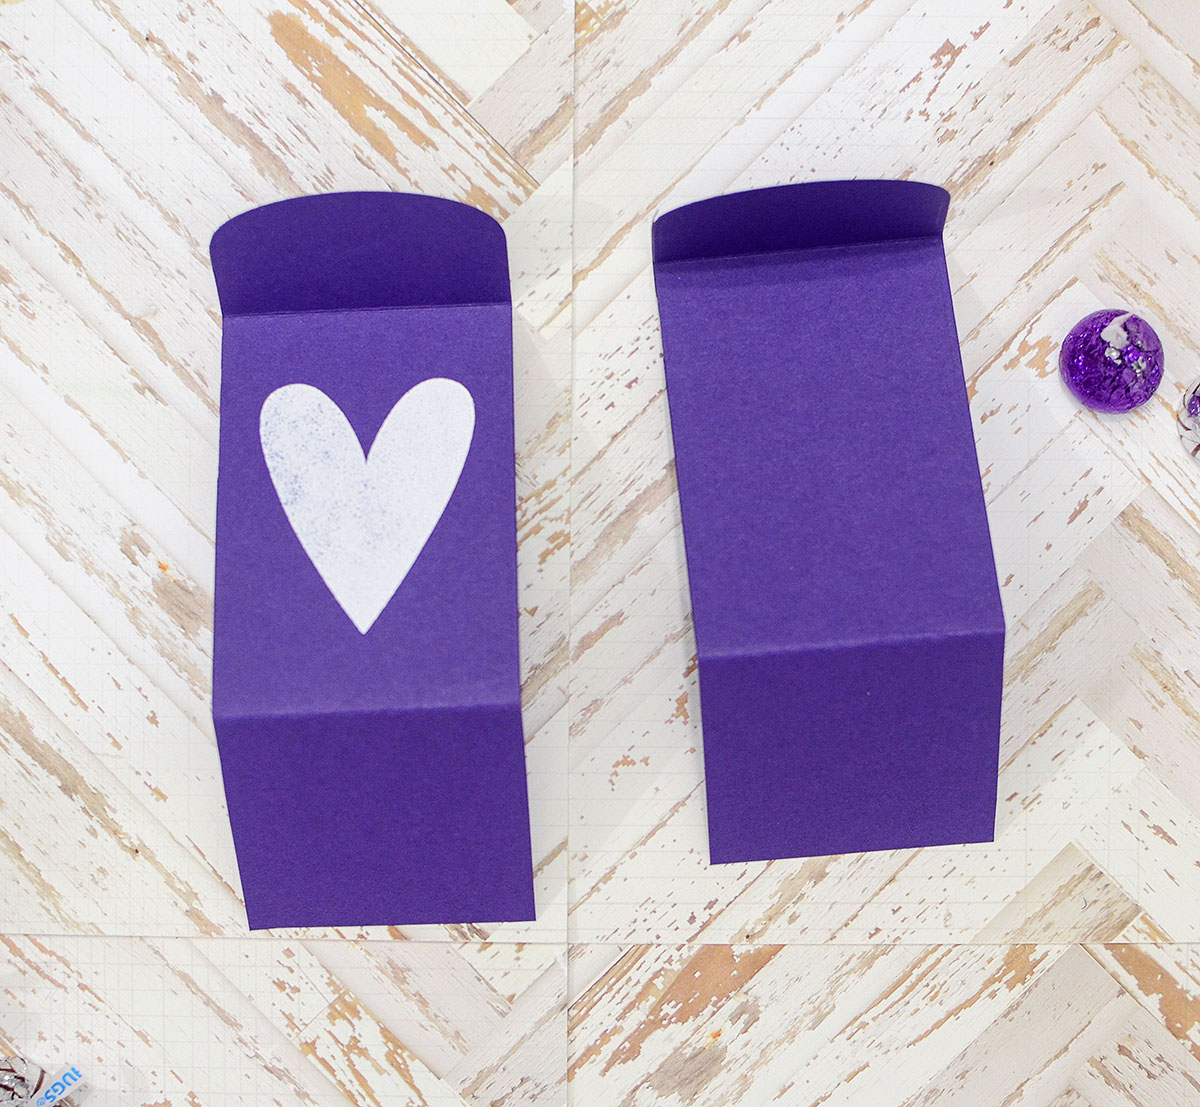
Next, adhere the bottoms together to create a U shape. Adhere one right on top of the other.
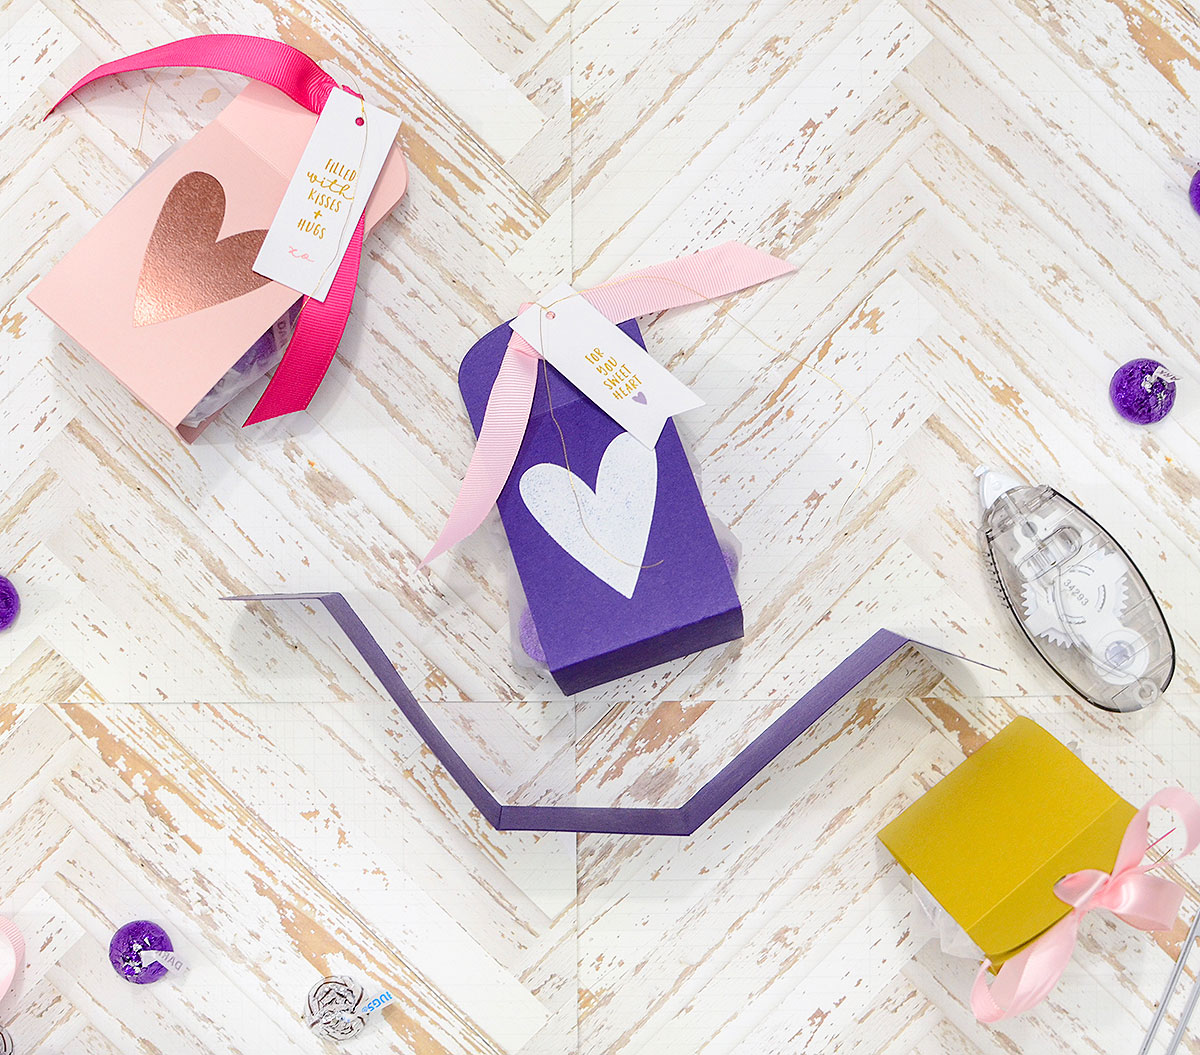
Bring the curved flaps at the top together and punch a hole in the center. Set aside for a moment.
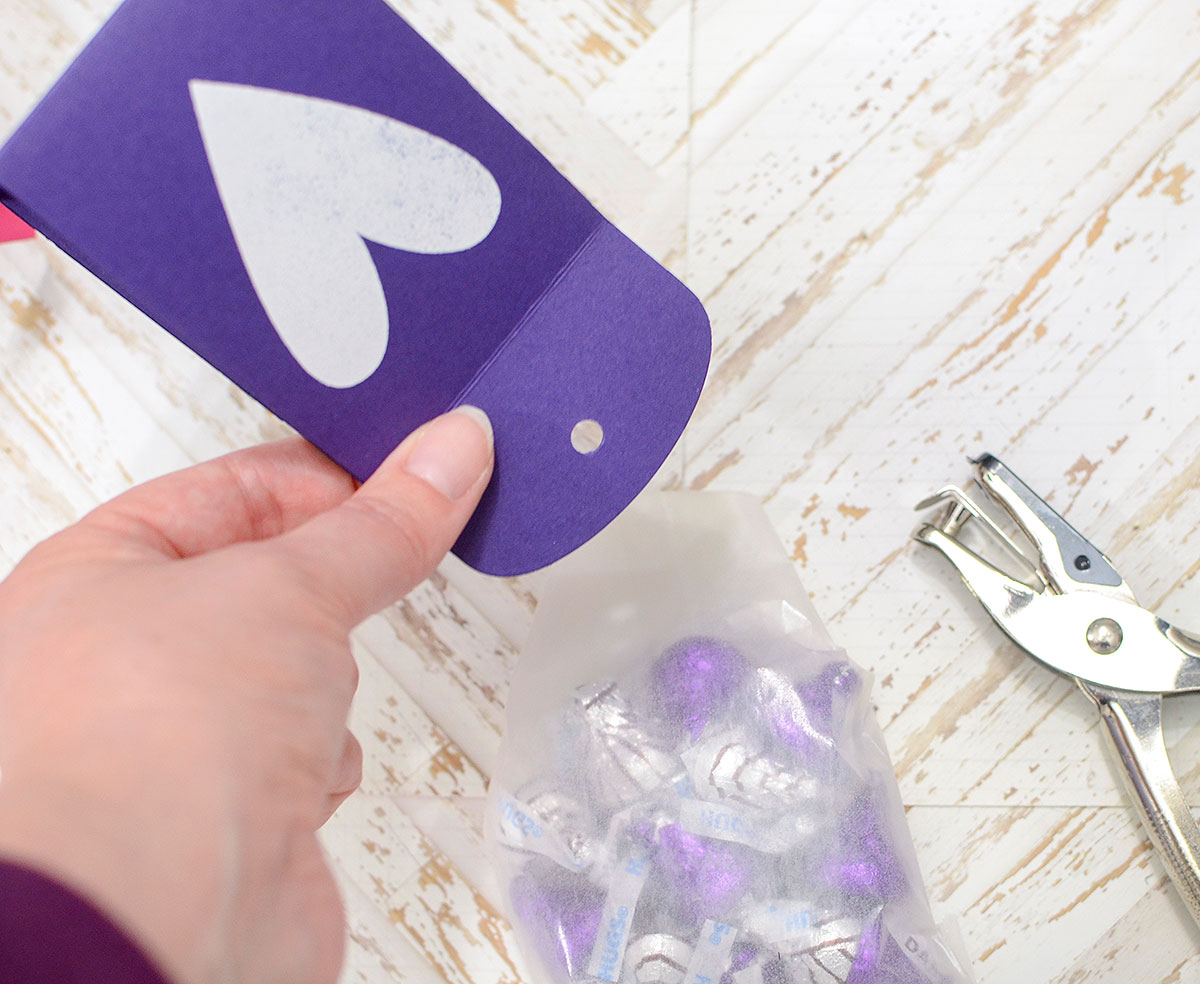
Fill the glassine bag about halfway with your treat of choice. I chose Hershey's Hugs & Kisses. (The glassine bags are the medium size sold in the PTI store; they measure 3.75" x 6.25".) Fold the open corners in toward each other and over. Punch a hole in the top center of the bag and place inside the modified gift card cozy.
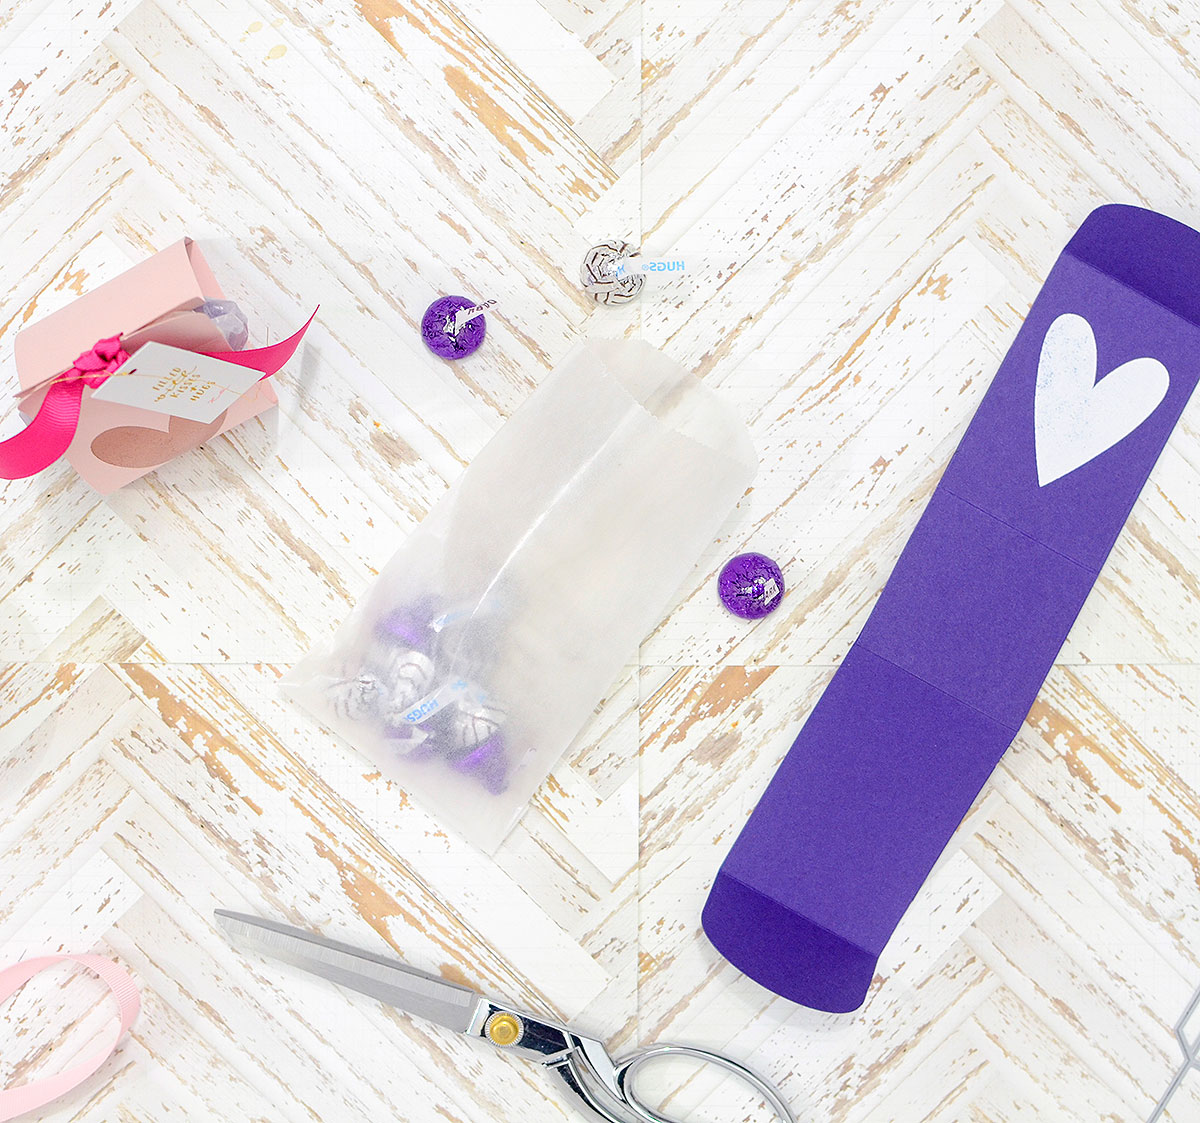
String ribbon through the holes, tying together the flaps and glassine bag. The rest is up to you!
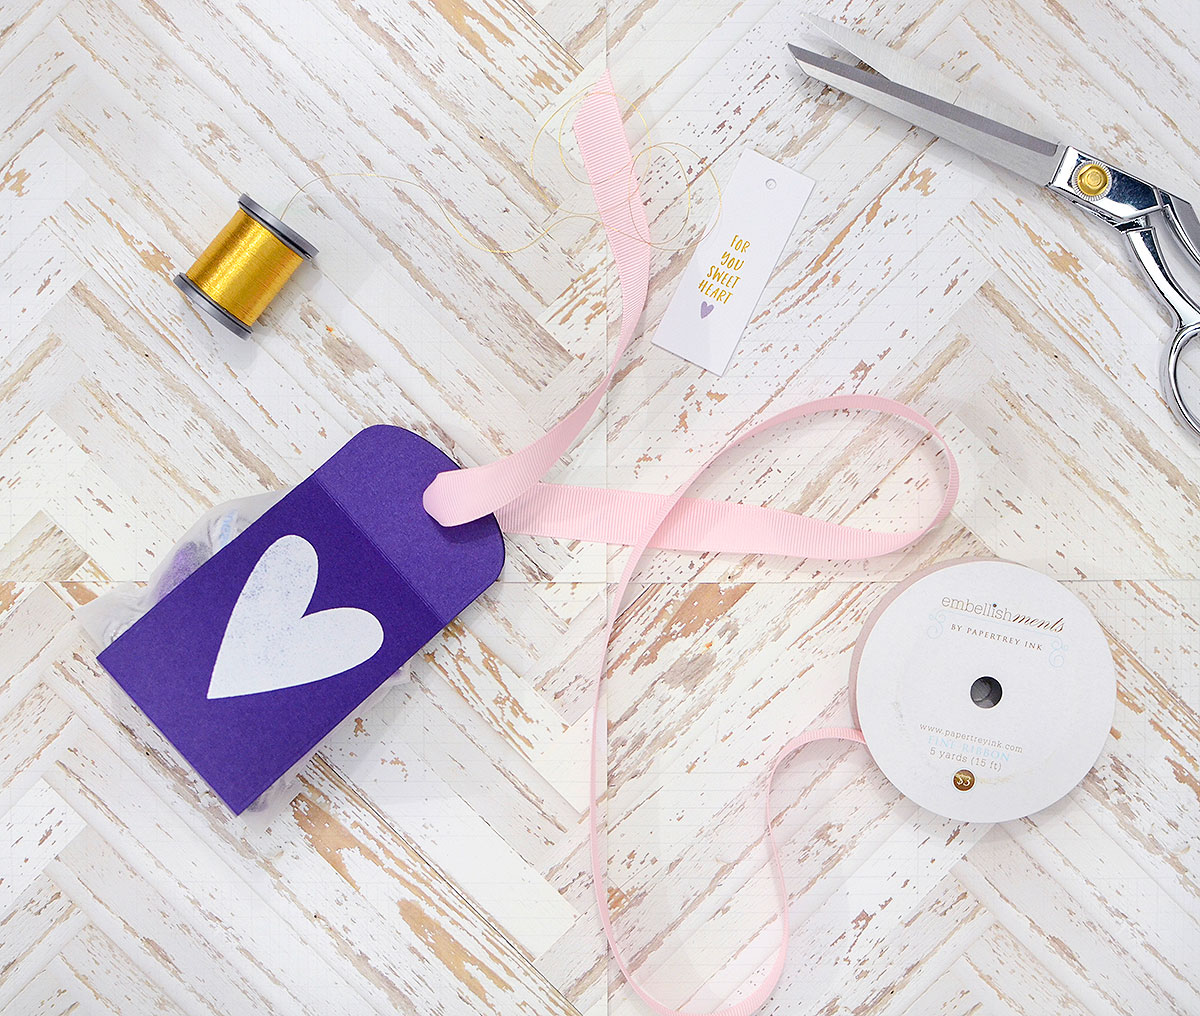
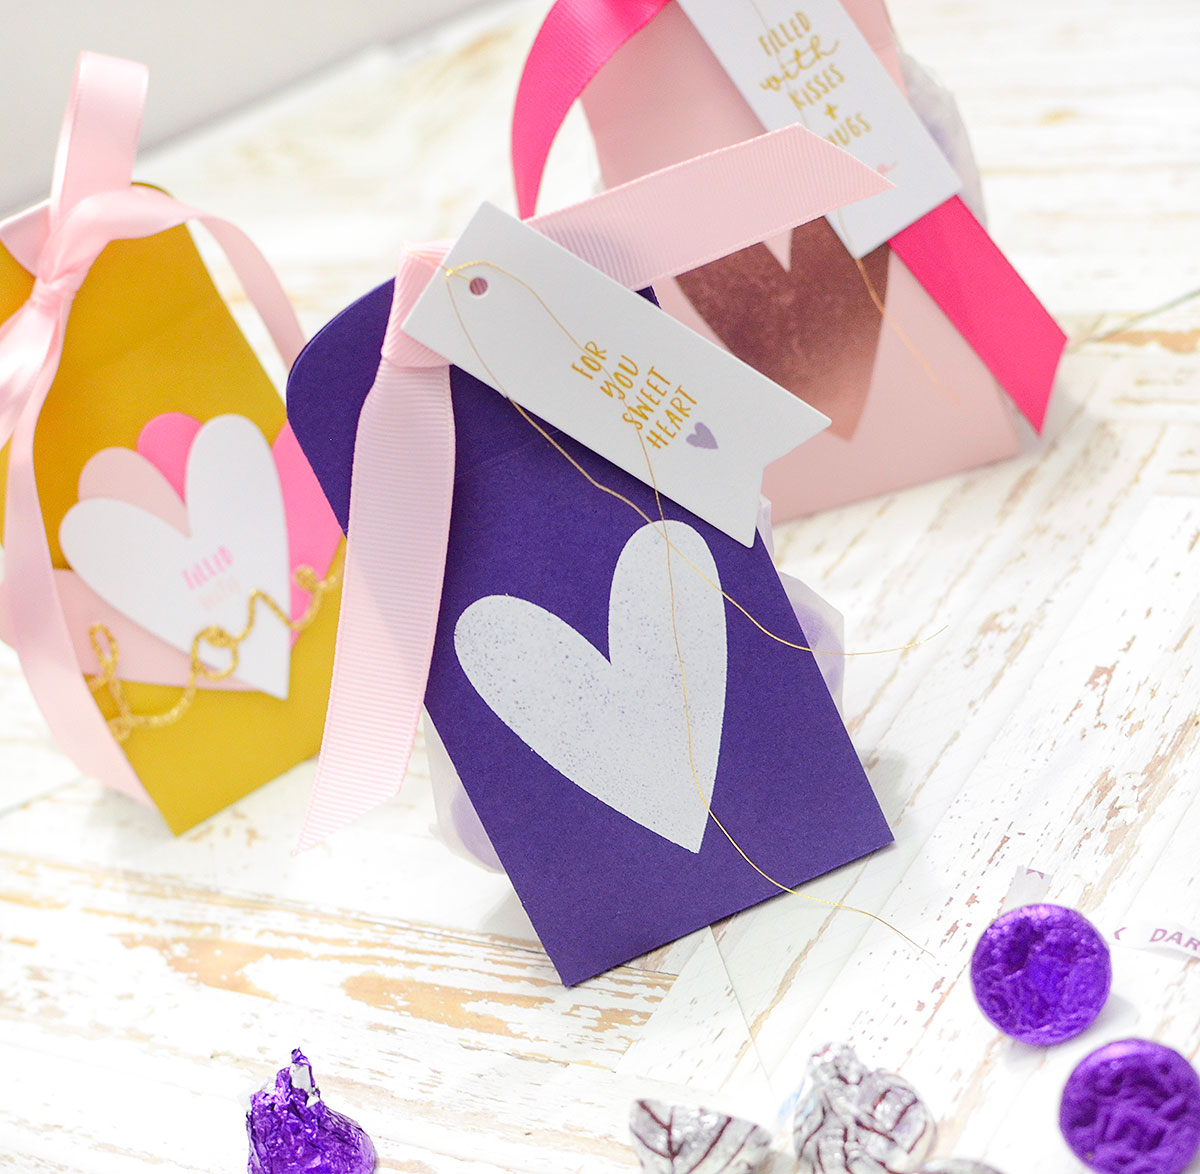
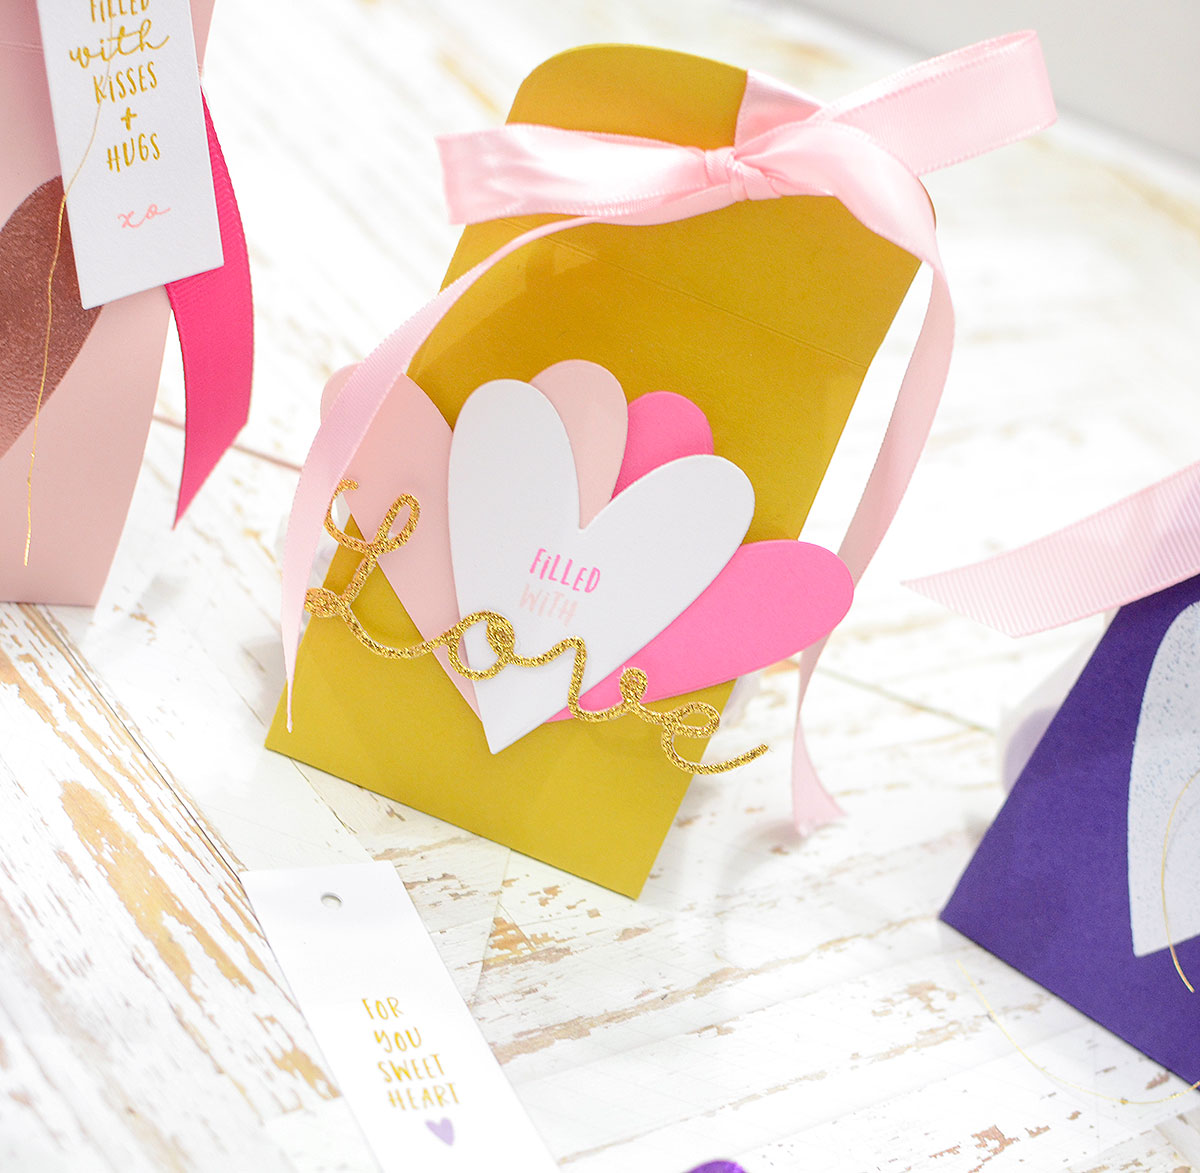
It's a quick way to make fun treat packaging! I chose to make a trio out of Royal Velvet, Saffron Spice, and Sweet Blush cardstocks; it's a bit of a different color palette for the holiday, but I'm smitten!
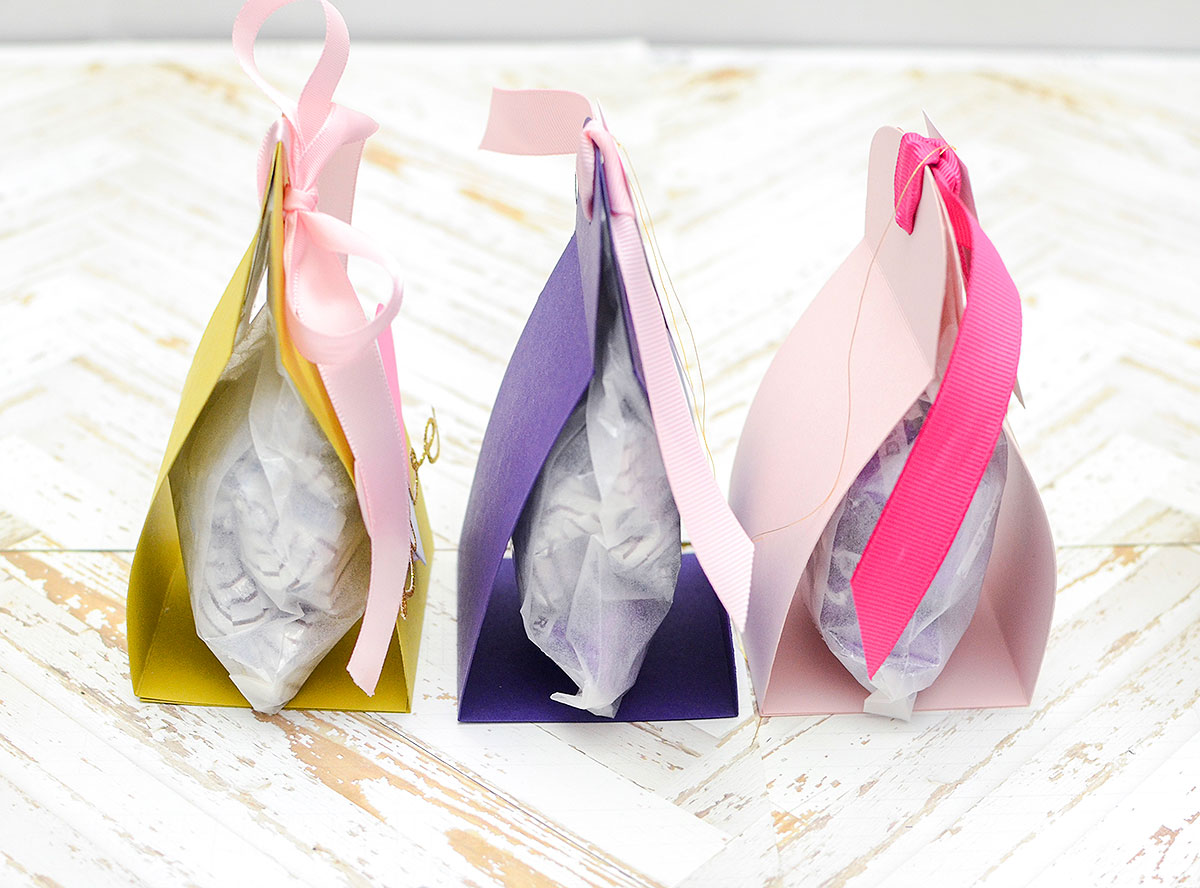
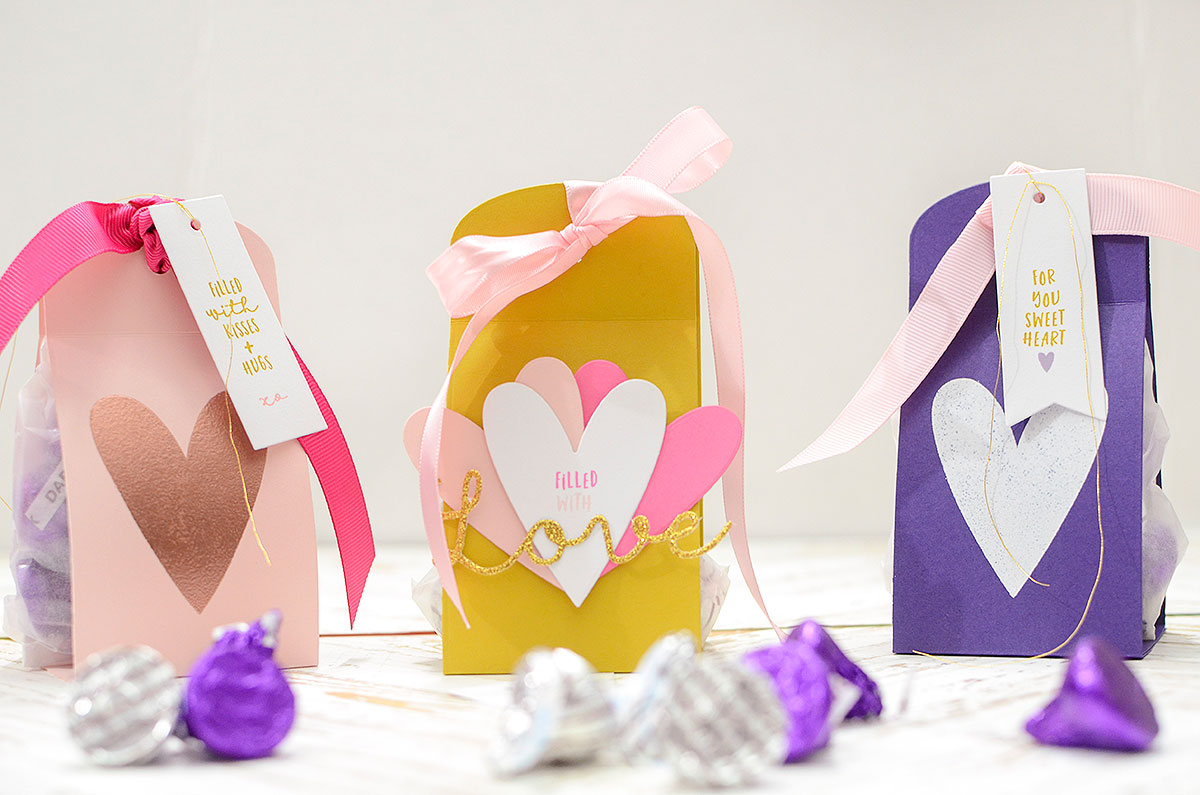
I embossed the large From the Heart heart stamp on the Royal Velvet and Sweet Blush boxes--I'm loving the Ranger embossing powder in Copper with that blush! It's the first time I've used it and it's so pretty!
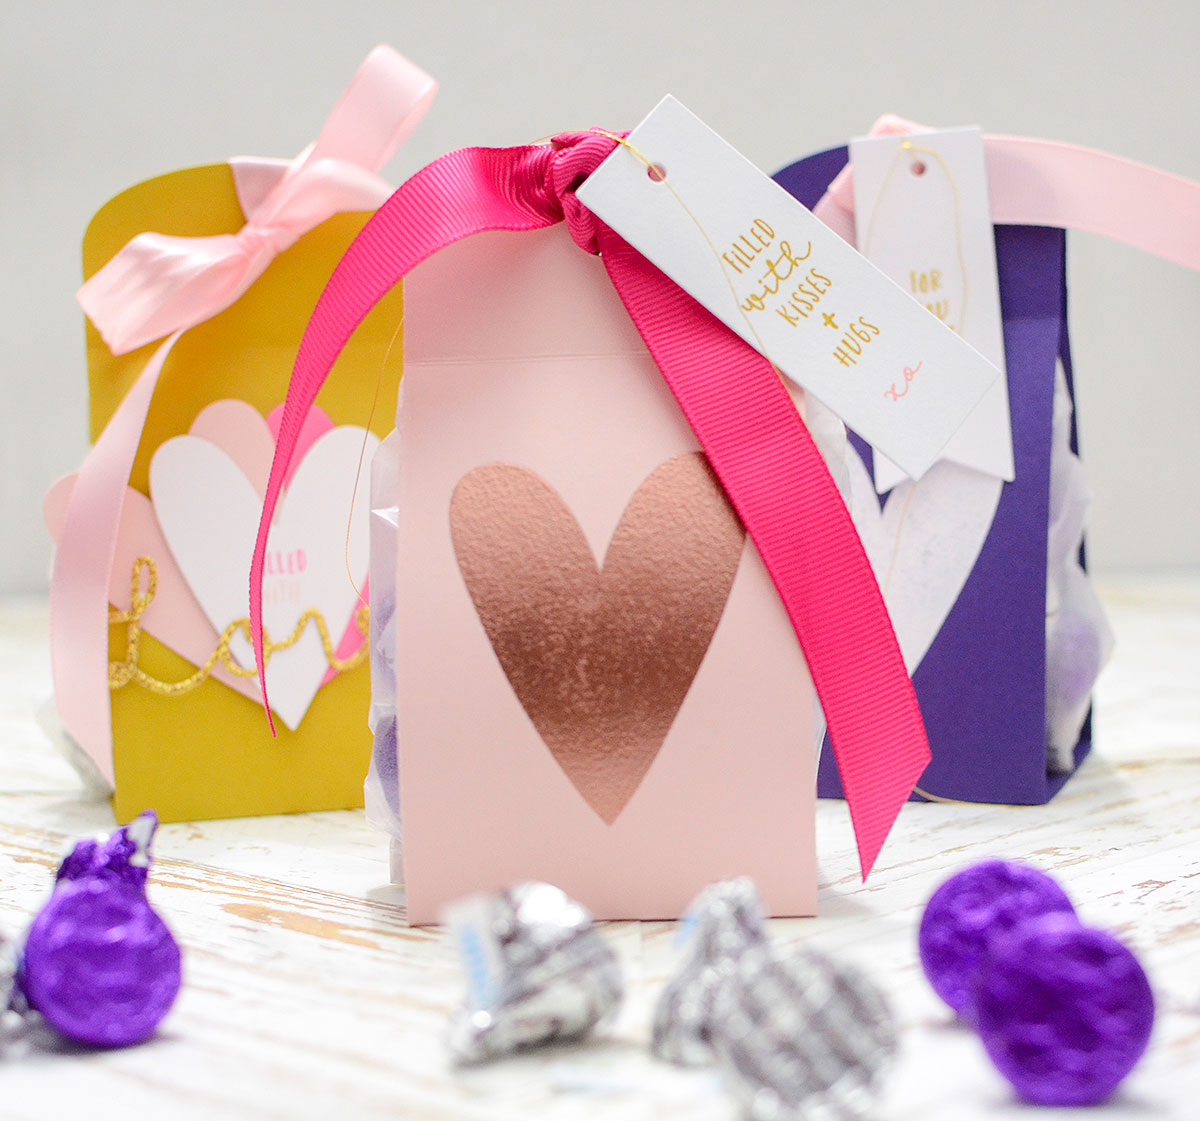
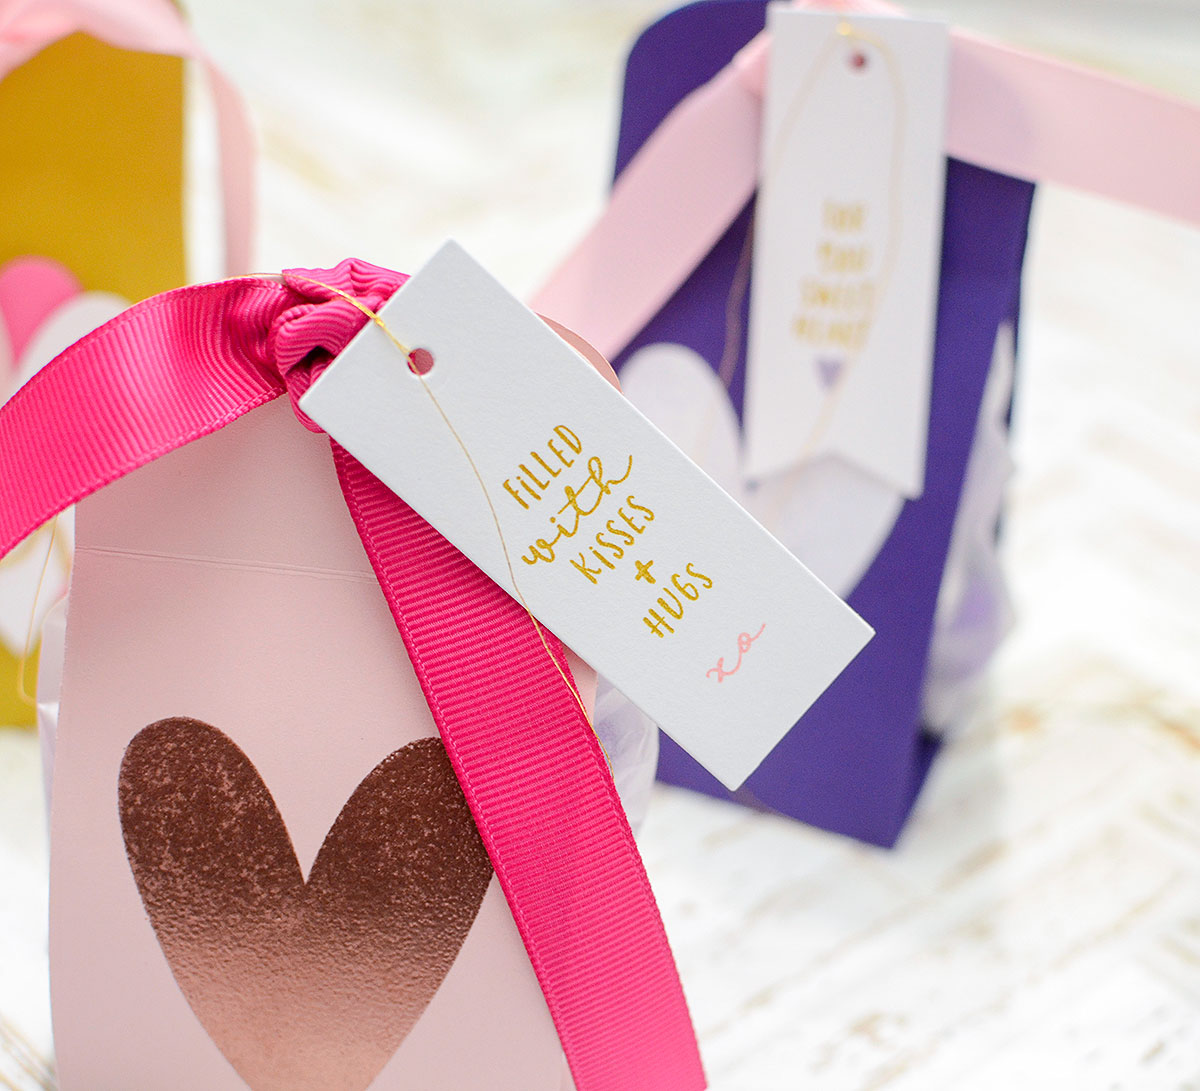
I used the same stamp set with the Skinny Mini Tags die collection, choosing a couple of sweet phrases. I must confess that I'm not a huge fan of Hershey's Kisses but I've had this idea for the "Filled with Kisses + Hugs" tag for weeks! It's just too cute not to make!
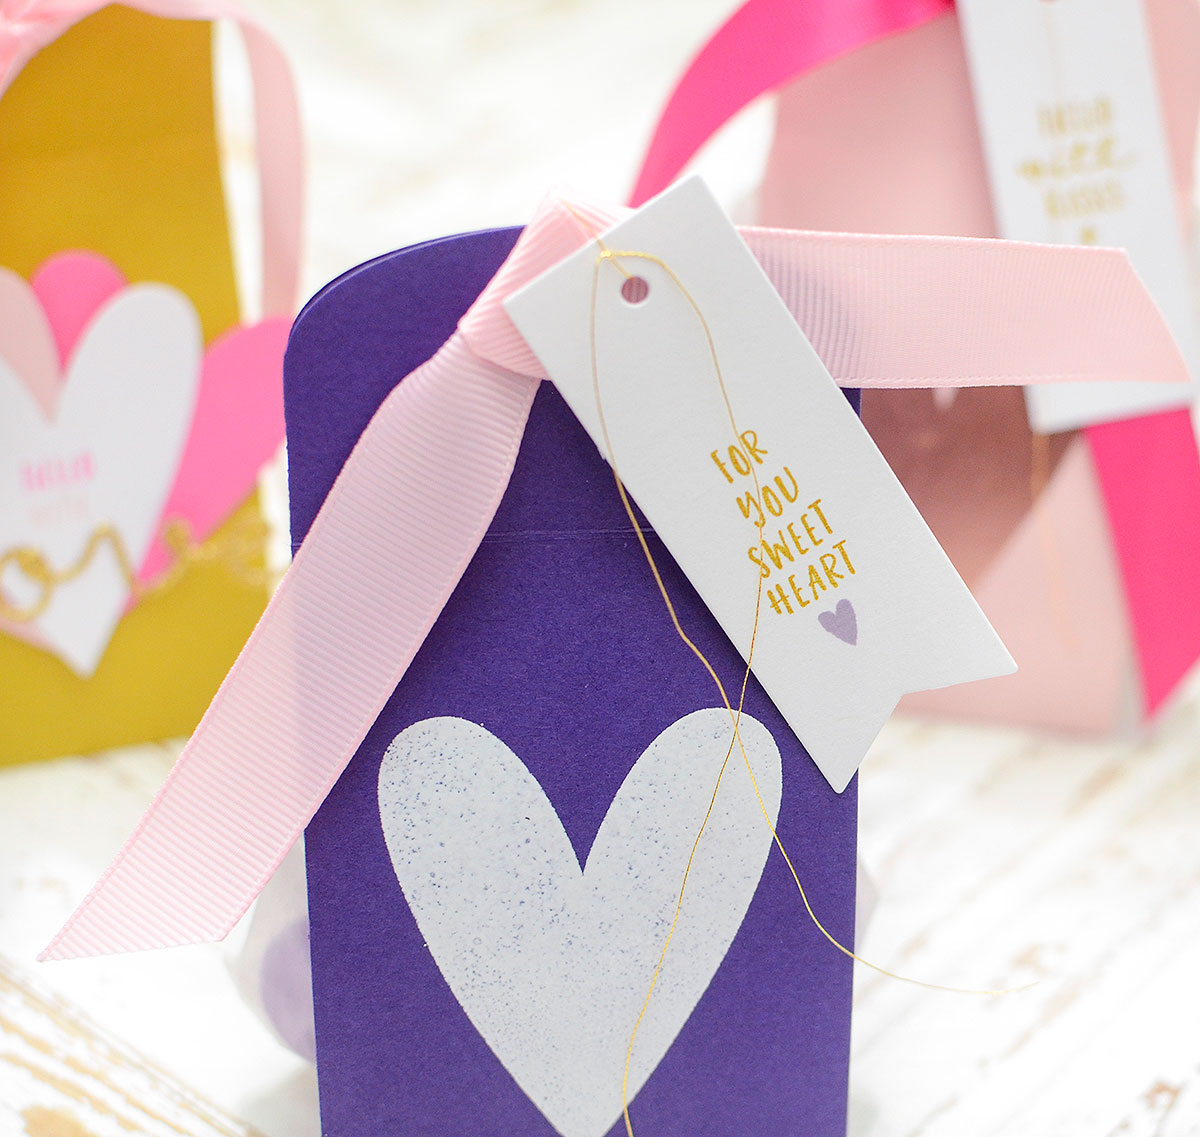
There are so many messages you can create with the From the Heart stamps, and they fit so well within the Skinny Mini tags. They also fit well within the From the Heart dies, like I used on the Saffron Spice package, adding a bit of Hibiscus Burst to the color mix. The "Love" word die was the perfect finishing touch in glittery gold!
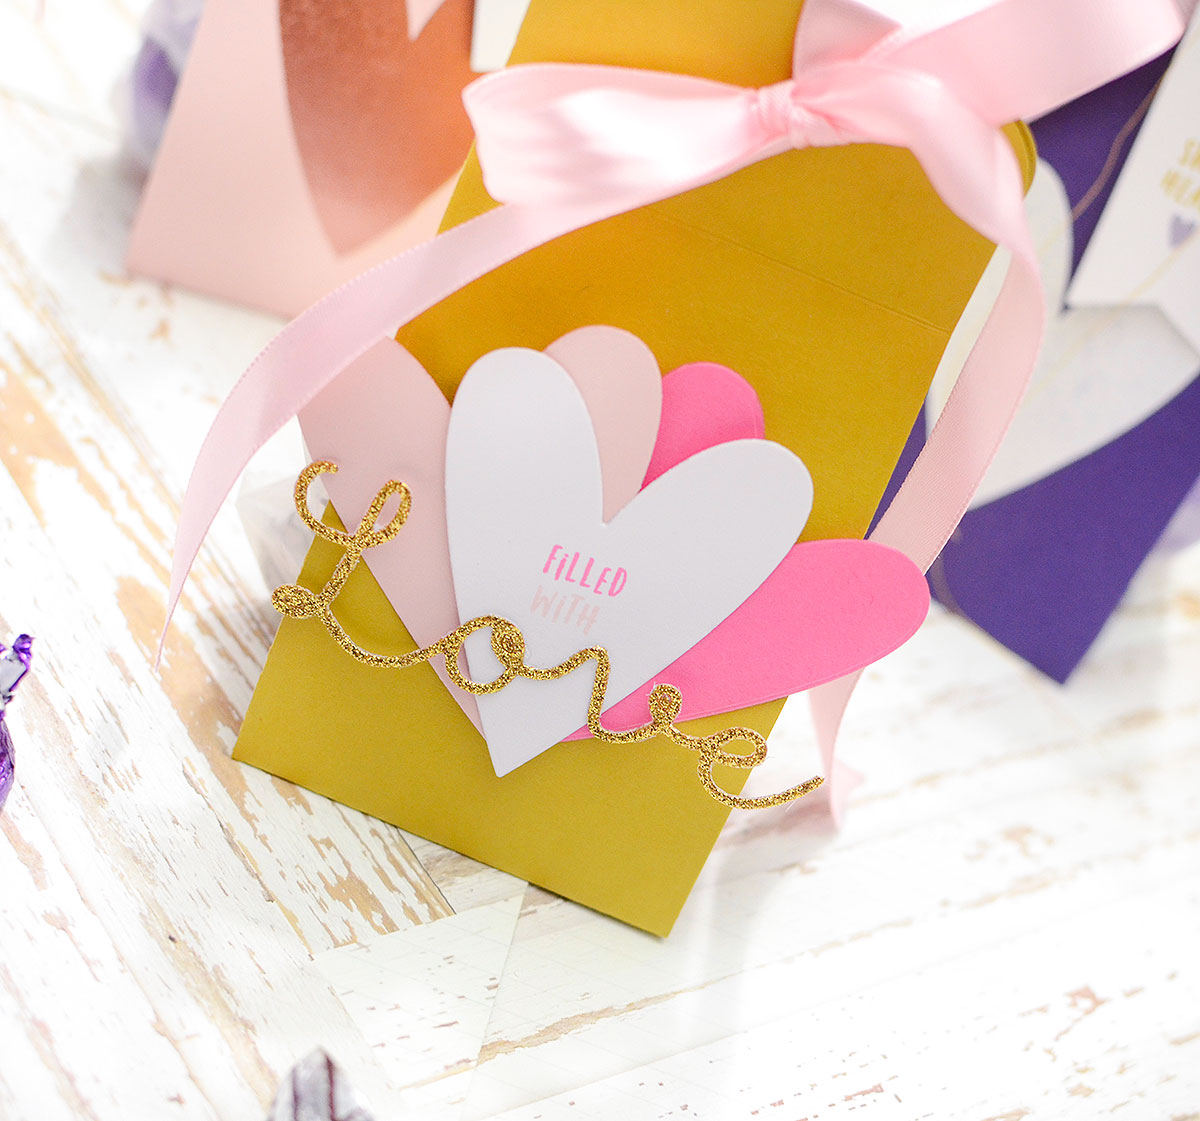
This truly was a fun project to make, so I hope you'll give it a try if you have the Gift Card Cozy die. If you don't have it, remember everything's on sale right now (even the glassine bags!!!) so it's a great time to grab it!! These treat boxes can work for any occasion--Easter, birthdays, weddings--the possibilities are endless!
I'm so happy you joined me today; have a love-ly Valentine's Day!
 Stamps: From the Heart
Ink: Saffron Spice, Hibiscus Burst, Sweet Blush, Pale Peony, Winter Wisteria, VersaMark WaterMark
Paper: Royal Velvet, Sweet Blush, Saffron Spice, Hibiscus Burst, White
Dies: Gift Card Cozy, From the Heart, Skinny Mini Tags, Bold Borders: Love
Other: Ribbon (Sweet Blush Satin, Sweet Blush Grosgrain, Raspberry Fizz Grosgrain), Glassine Bags, Ranger Embossing Powder (Fine Copper)
Comments
Post a Comment
i do appreciate your comment!
~Rebecca